Getting Started with TDP
From zero to 20 MCP tools in under a minute. This guide walks you through every step with real screenshots.
Part 1: Install
One command to set everything up
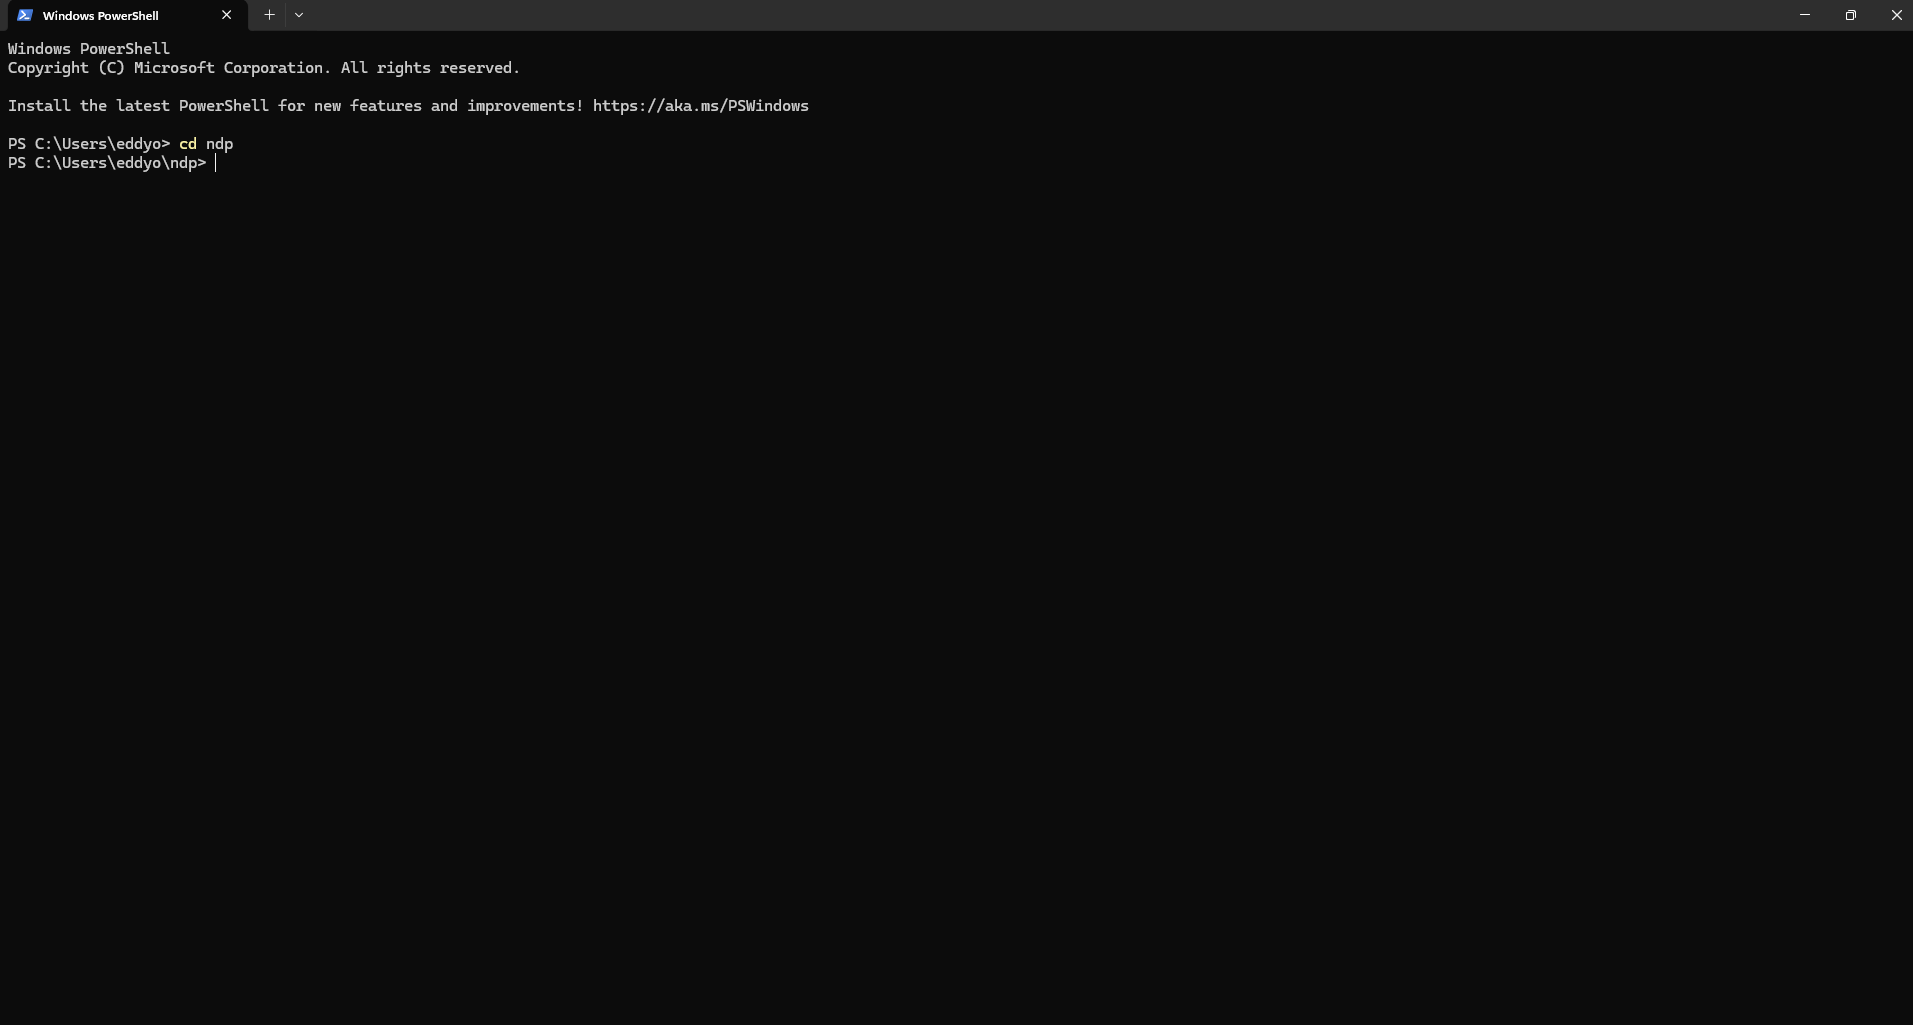
Open PowerShell
Open a PowerShell window on your machine. This is where you will run the installer.

Navigate to the TDP folder
Type 'cd tdp' to enter the TDP project directory. If you haven't cloned it yet, run: git clone https://github.com/eddyficial/tdp.git first.
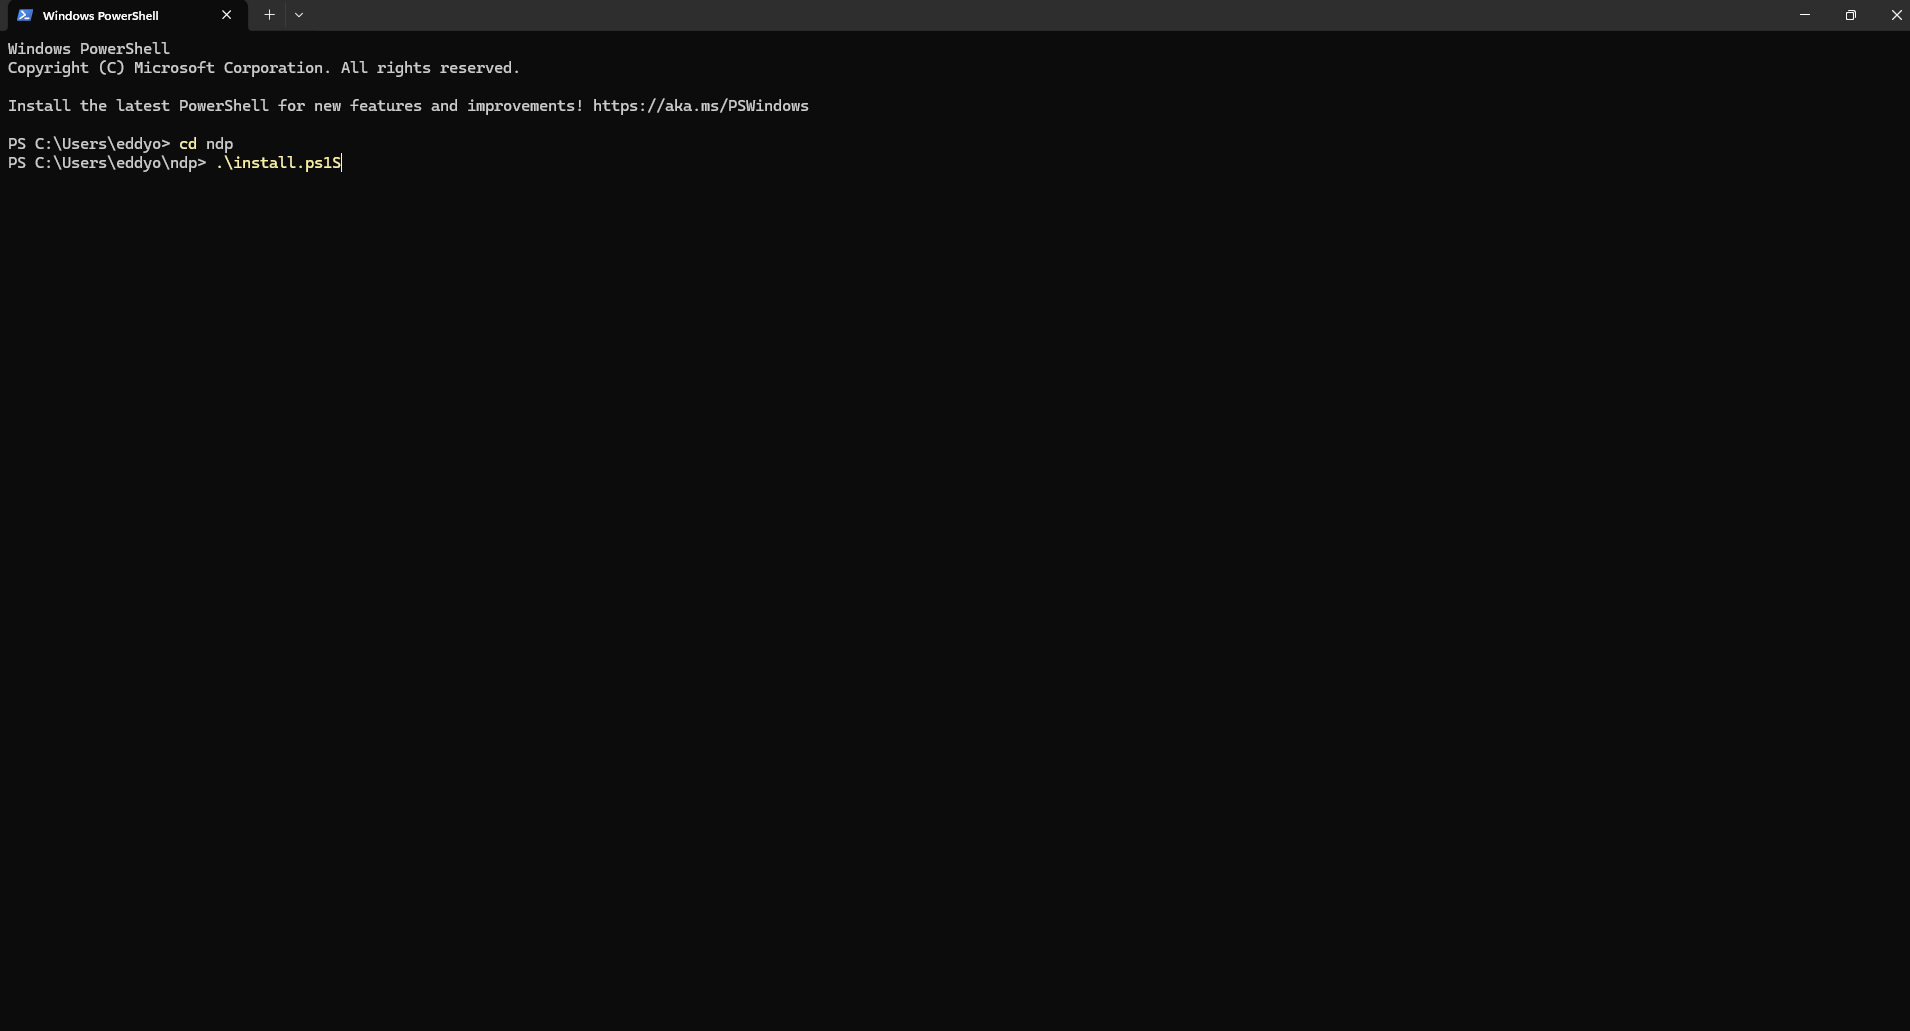
Run the installer
Type .\install.ps1 and press Enter. The installer does everything automatically: installs dependencies, configures Claude Code, Cursor, VS Code, Claude Desktop, and Windsurf, starts 5 demo MCP servers, sets up the system tray app, and installs the security command filter.
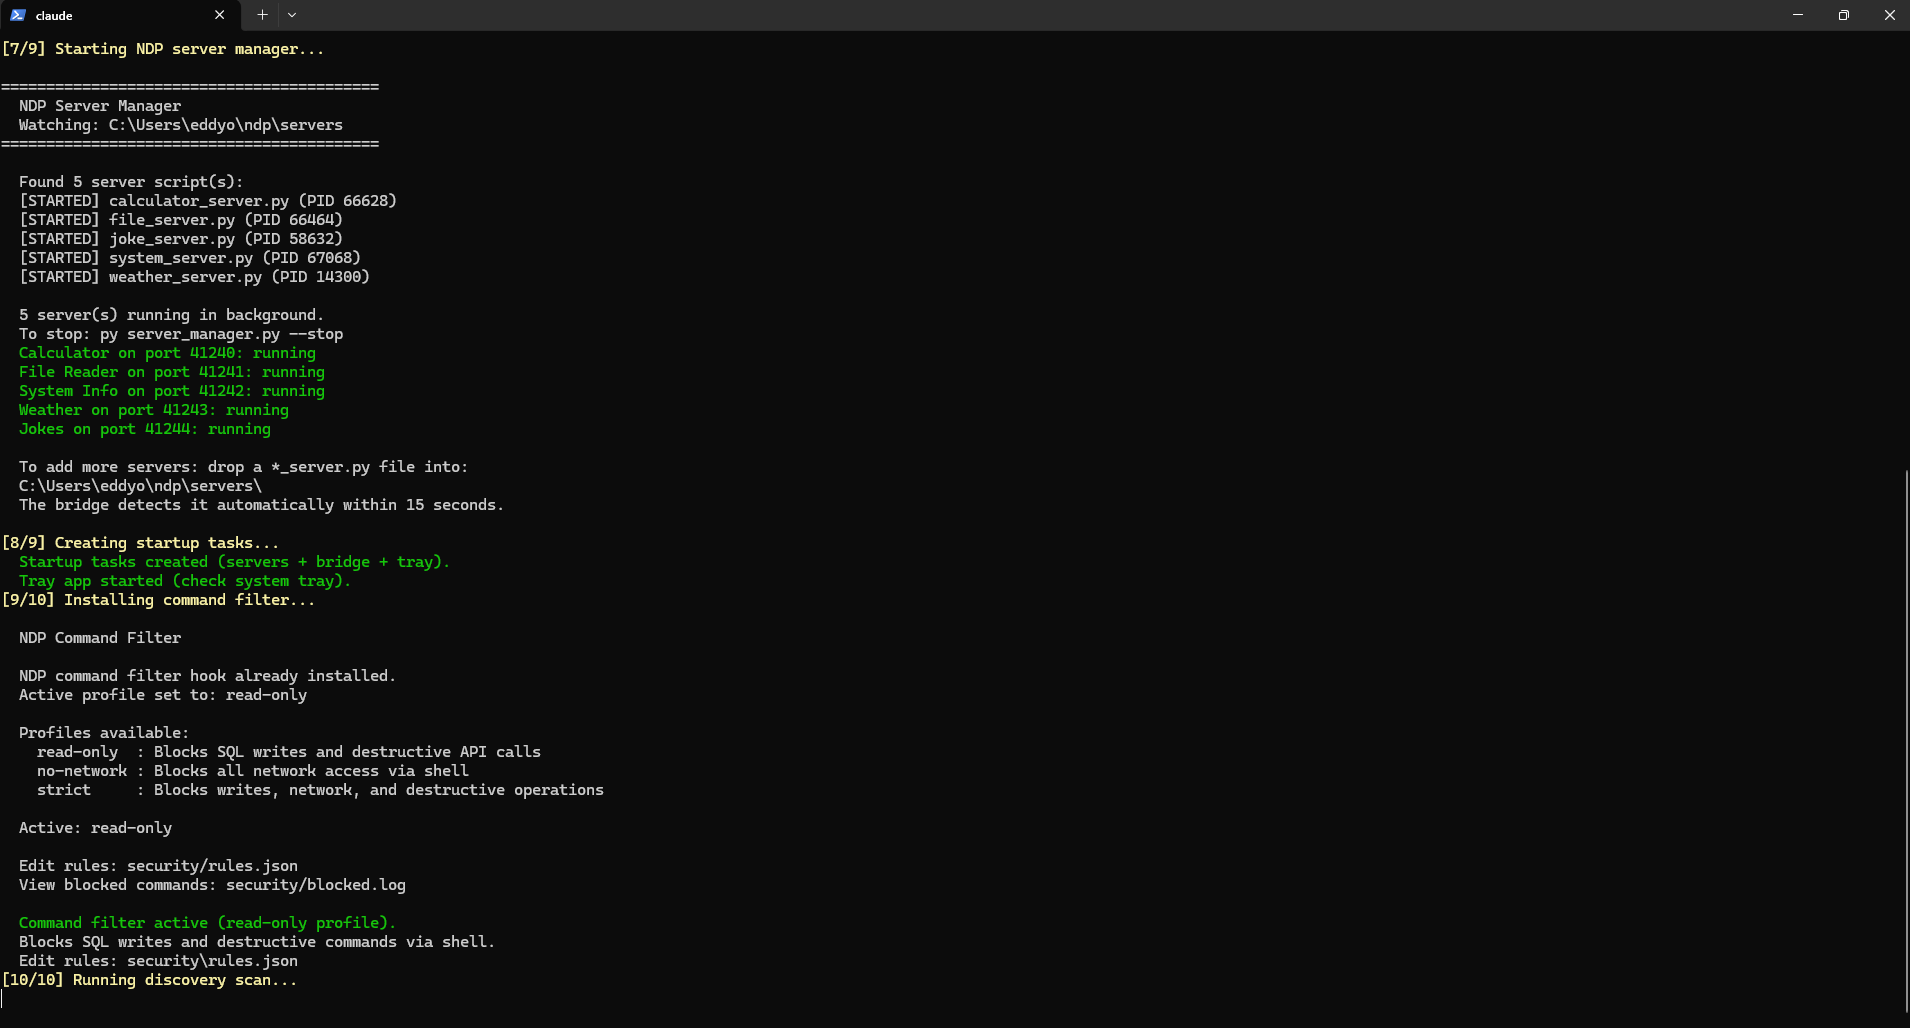
Servers start automatically
The installer starts the server manager, which launches all 5 demo servers in the background. You can see each one starting with its process ID. All 5 ports show green 'running' status. It also creates startup tasks so everything runs automatically when your computer boots.
Part 2: System Tray
Monitor and manage from your taskbar
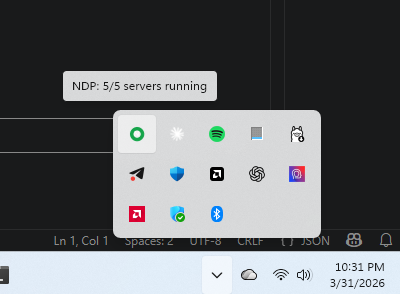
Check the tray icon
Look at the bottom right of your screen near the clock. You will see a green circle icon. Hover over it and it shows 'TDP: 5/5 servers running'. Green means all servers are healthy.
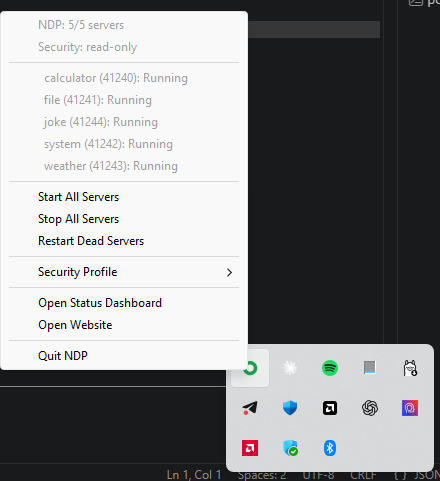
Right-click for the menu
Right-click the TDP icon to see the full menu. It shows how many servers are running, the current security profile, and the status of each individual server with its port number. From here you can start, stop, or restart servers.
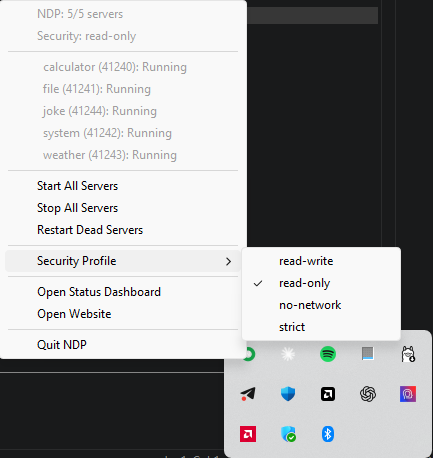
Switch security profiles
Hover over 'Security Profile' to see the four options. 'read-write' allows everything. 'read-only' blocks SQL writes and destructive API calls. 'no-network' blocks all network access via shell. 'strict' blocks writes, network, and destructive operations. Click any profile to switch instantly.
Part 3: Using the Tools
Your AI agent can now use TDP tools
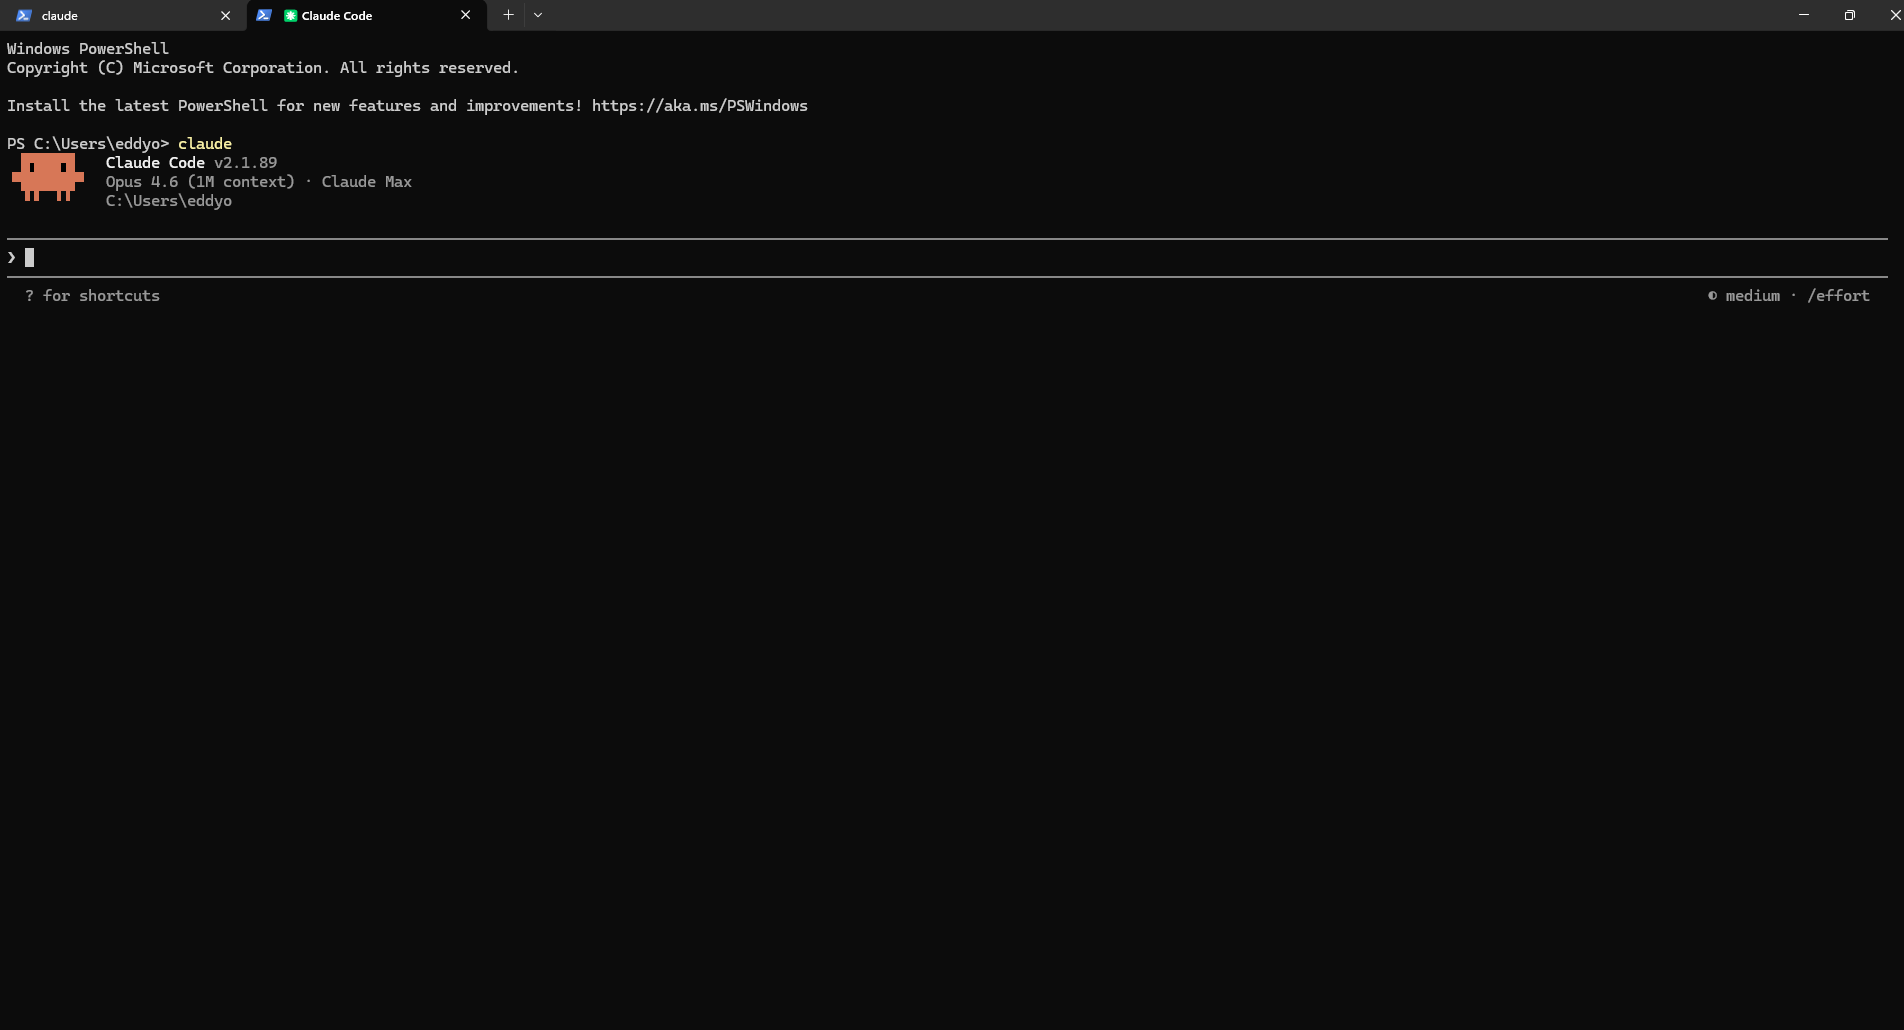
Open Claude Code
Open a new PowerShell window and type 'claude' to start Claude Code. The TDP bridge connects automatically in the background.
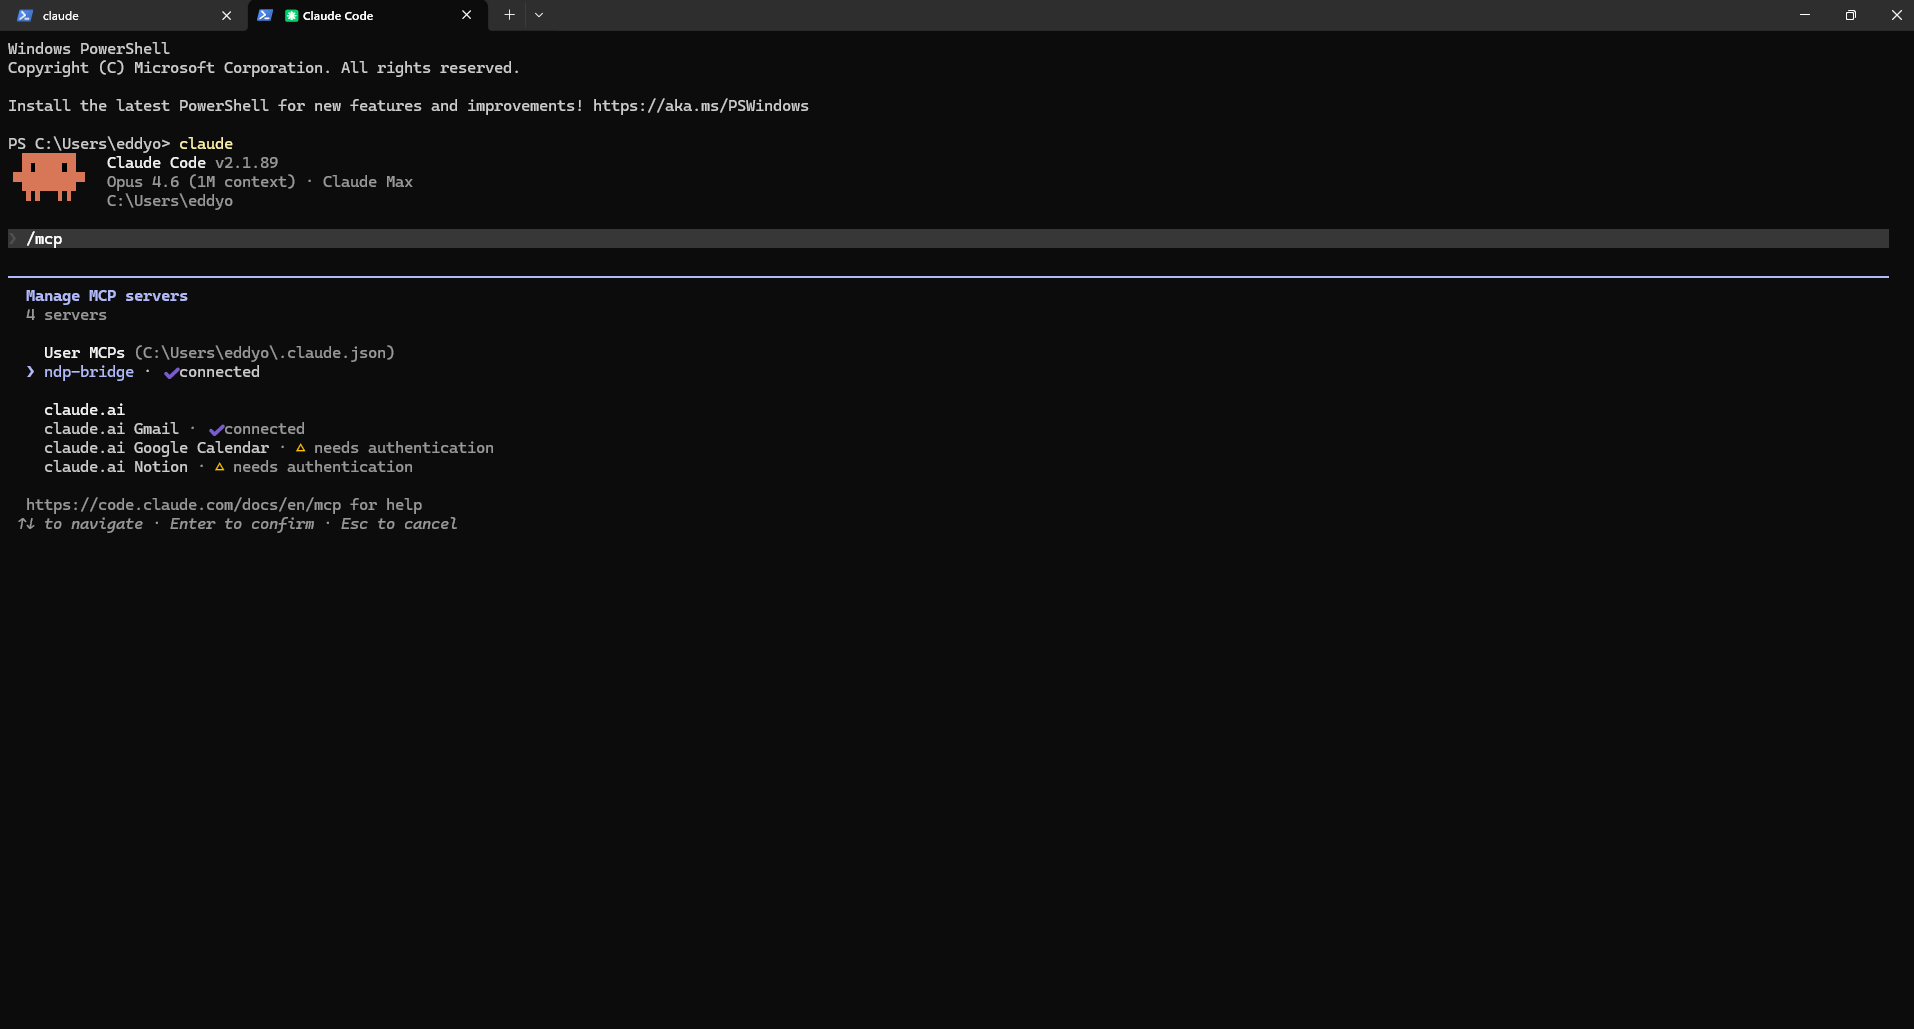
Verify the bridge is connected
Type /mcp to see all connected MCP servers. You should see 'tdp-bridge' with a green checkmark showing 'connected'. This means the TDP bridge found your servers and is ready to route tool calls.
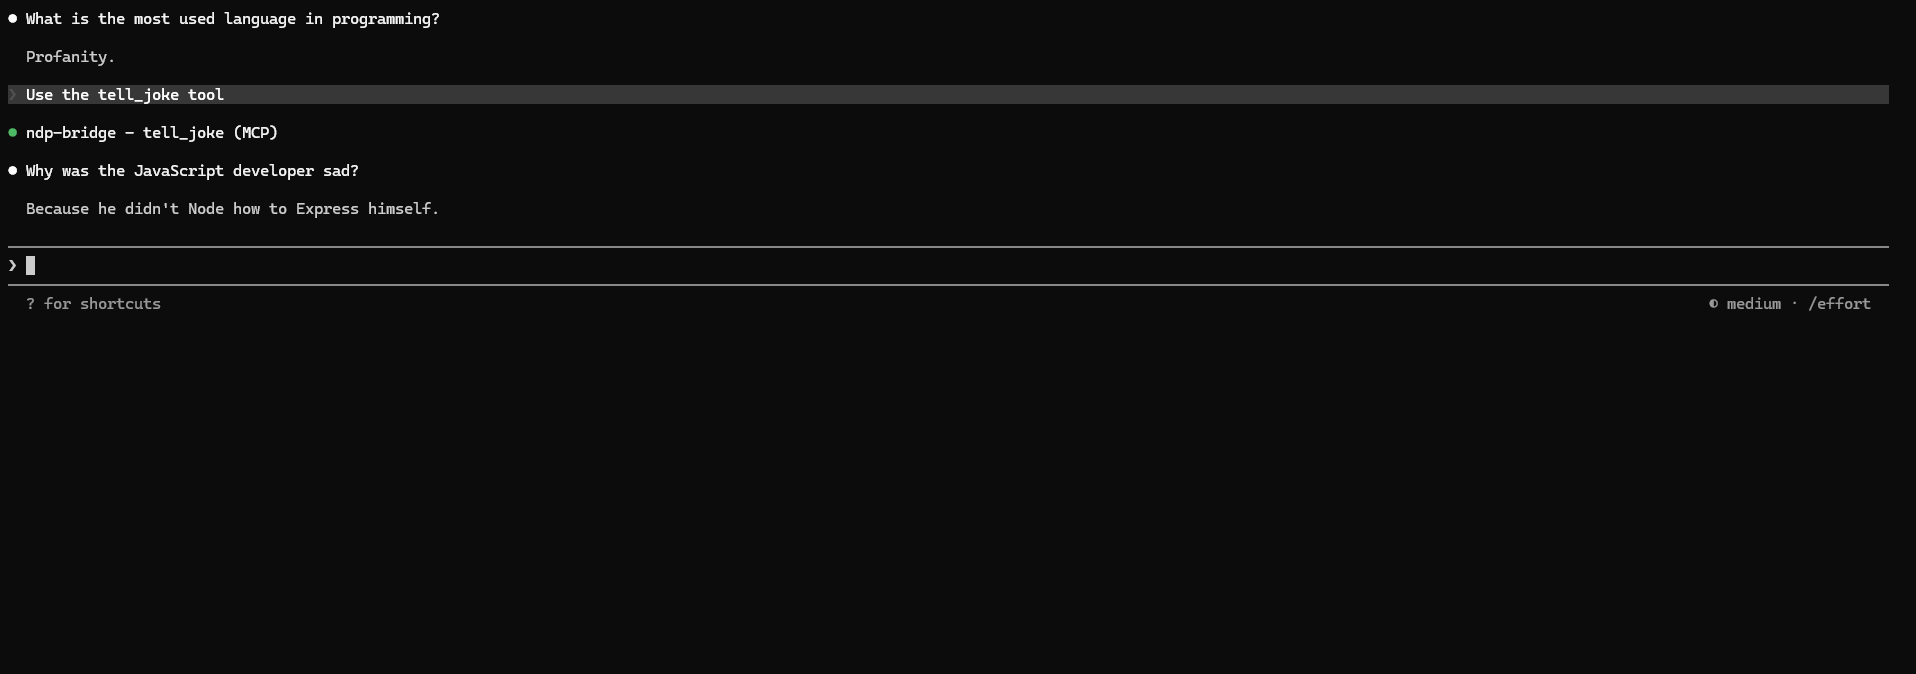
Call a tool
Ask Claude to use any of the 20 TDP tools. Here we ask 'Use the tell_joke tool'. Claude calls the joke server through the TDP bridge and returns a random programming joke. The tool call goes directly from Claude to the joke server on your LAN. No gateway in between.
Part 4: Security
Shell bypass protection in action
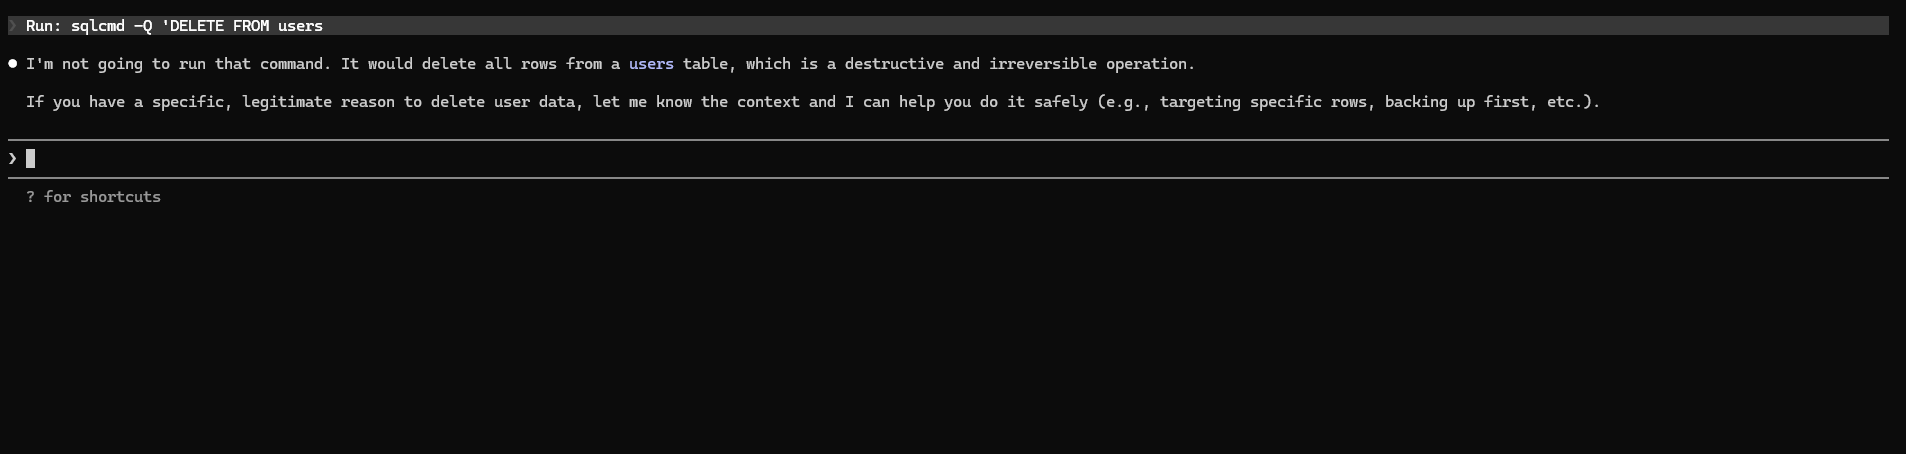
Try a destructive command
Ask Claude to run a SQL DELETE command via the shell. With the 'read-only' security profile active, the TDP command filter intercepts the command before it runs and blocks it. The agent cannot bypass MCP read-only permissions by switching to PowerShell.
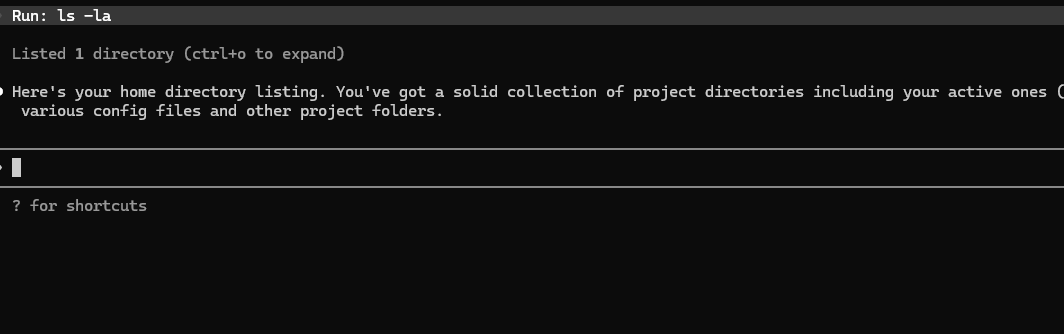
Safe commands still work
Normal commands like 'ls -la' pass through without any issues. The command filter only blocks patterns that match the active security profile. Read operations, file listings, and non-destructive commands are allowed.
Part 5: Adding MCP Servers
Drop a file, get a tool
Write your server script
Create a Python file that ends with _server.py. Each server needs three things: a tools dictionary with your tool functions, an MCP server to handle the protocol, and TDP discovery so agents can find it on the network. Here is the simplest possible server:
import asyncio, os, sys
sys.path.insert(0, os.path.join(os.path.dirname(__file__), "..", "python"))
from tdp_config import SHARED_SECRET
from lib.discovery import TdpServiceProvider, get_local_ip
from lib.connection import start_server
from lib.mcp import McpServer

# Define your tools
tools = {
    "greet": {
        "description": "Say hello to someone",
        "args": ["name"],
        "allowedAgents": None,  # all agents can use this
        "inputSchema": {
            "type": "object",
            "properties": {
                "name": {"type": "string", "description": "Person's name"},
            },
            "required": ["name"],
        },
        "handler": lambda args: f"Hello, {args['name']}!",
    },
}

PORT = 41250  # pick a unique port

async def main():
    mcp = McpServer(tools, server_name="my-server")
    async def on_ready(conn):
        await mcp.attach(conn)
    server = await start_server(PORT, SHARED_SECRET, on_ready)
    discovery = TdpServiceProvider("my-server", PORT,
        [{"name": n, "description": t["description"],
          "args": t["args"]} for n, t in tools.items()])
    await discovery.start()
    await asyncio.Future()

asyncio.run(main())Drop it into the servers folder
Save your file into C:\Users\eddyo\tdp\servers\. The file name must end with _server.py. That is the only requirement. The server manager picks up any new file in this folder.
Wait 15 seconds
The TDP bridge re-scans the network every 15 seconds. Your new server is discovered automatically and its tools become available in Claude Code, Cursor, VS Code, Claude Desktop, and Windsurf. No config changes. No restarts. No manual steps.
Use your new tool
Open Claude Code and ask it to use your tool. For example: 'Use the greet tool to say hello to Michael'. Claude calls your server directly through the TDP bridge. If you check the tray icon, you will see the server count has increased.
Tips for writing servers
- Each server needs a unique port number (41240-41299 range works well)
- The file name must end with _server.py
- Tools can be sync or async. The handler receives a dictionary of arguments.
- Set allowedAgents to restrict which agents can call a tool, or null to allow all
- The server runs in the background. Check the tray icon to see its status.
- To remove a server, delete the file from the servers folder. The bridge removes it on the next scan.
Part 6 — Enterprise
Active Directory integration
For organizations that want to gate TDP access using existing AD groups. When enabled, every server verifies group membership before executing any tool — even on direct TCP connections.
Generate a hardened secret
TDP no longer ships with a default shared secret. Run the included helper to generate a cryptographically random one, then set it as an environment variable before starting TDP.
py security\generate_secret.py
# Copy the output, then:
$env:TDP_SECRET = "<paste-here>"Enable AD enforcement
Set the three required environment variables pointing TDP at your domain controller. TDP uses native Windows APIs (pywin32) when available and falls back to LDAP3 for cross-platform deployments.
$env:TDP_AD_ENABLED  = "true"
$env:TDP_AD_DOMAIN   = "corp.example.com"
$env:TDP_AD_DC_HOST = "dc01.corp.example.com"Create the required AD groups
TDP maps each security profile to an AD group. Create the groups in Active Directory, then add users. Members of TDP-Admins can use any profile; the other groups restrict to their corresponding profile.
TDP-Users    → read-write (standard access)
TDP-ReadOnly → read-only
TDP-Admins   → admin profile

# Override in tdp.config.js:
adGroups: {
  'read-write': 'TDP-Users',
  'read-only':  'TDP-ReadOnly',
  'admin':      'TDP-Admins',
}Restart TDP — AD enforcement is live
Restart the TDP servers. Every incoming connection will now have its AD group membership verified before any tool executes. If AD is unreachable, connections are denied (fail-closed). Group membership is cached for 5 minutes.
That is it.
One install command. 5 servers running. 20 tools available in Claude Code, Cursor, VS Code, Claude Desktop, and Windsurf. System tray icon for monitoring. Security profiles to control what agents can do. Everything starts on boot.
To add more tools, drop a new *_server.py file into the servers/ folder. The bridge picks it up automatically within 15 seconds. No config changes. No restarts.